Attach Data Volume
Steps to attach a data volume in windows VM
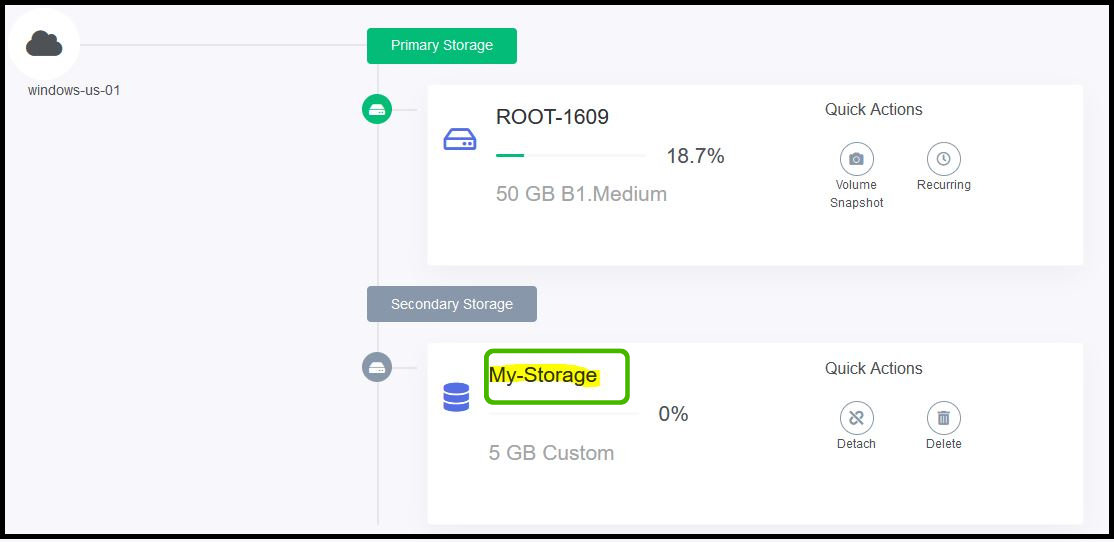
- Let's assume that you have already created a VM and volume has been attached to your windows instance.
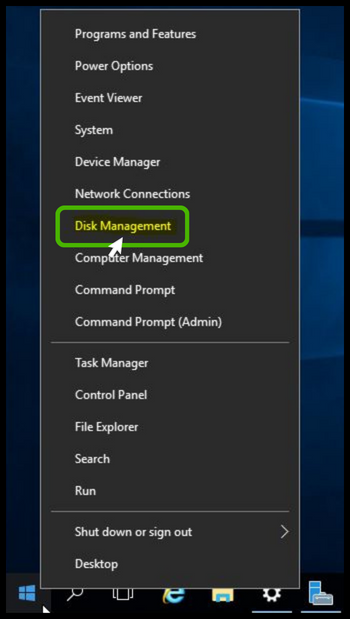
- Login into your windows instance and right click on the windows button and select disk management.
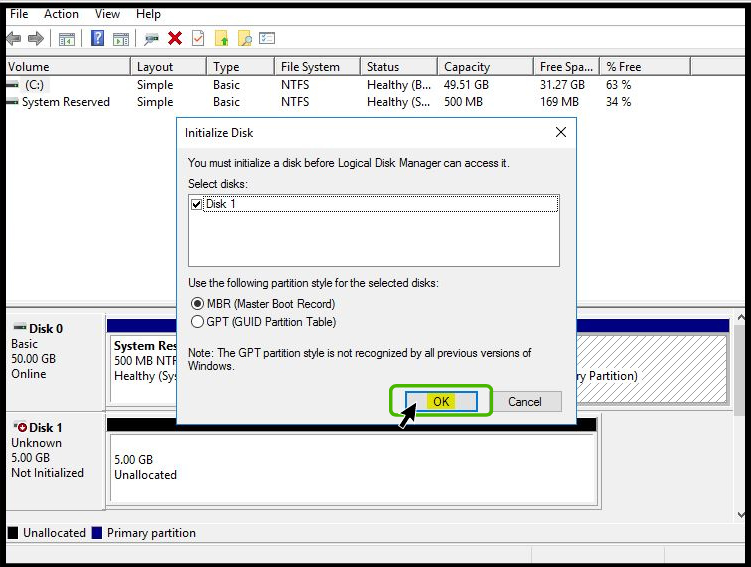
- While access the disk management snap-in, it automatically detects your attached disk and prompt to initialize the disk. Click OK to continue.
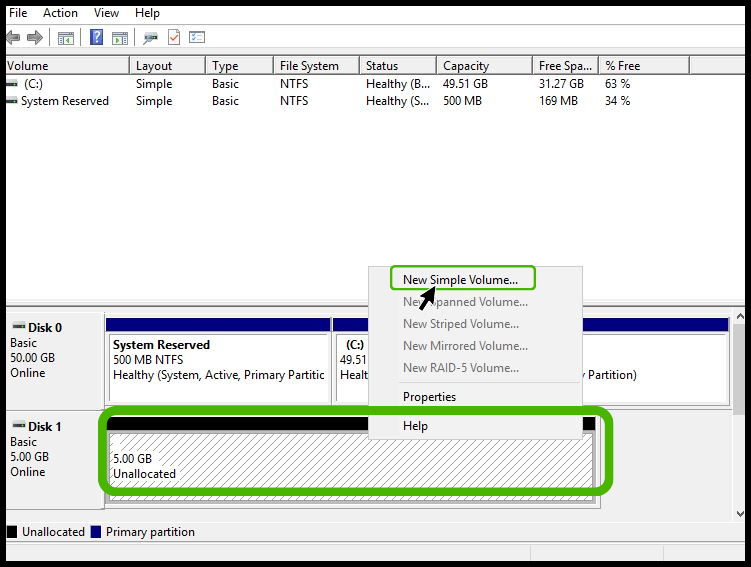
- Currently, your attached disk will be in unallocated state.
- Right click on the disk and select New Simple Volume.
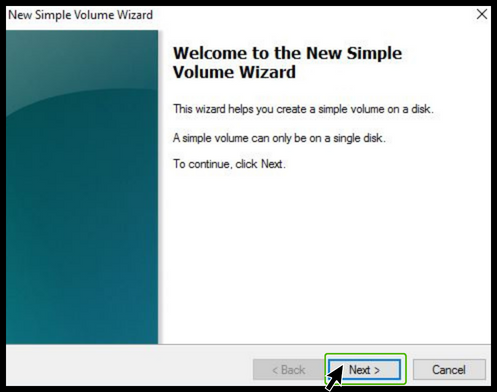
- New wizard will popup, click Next to continue.
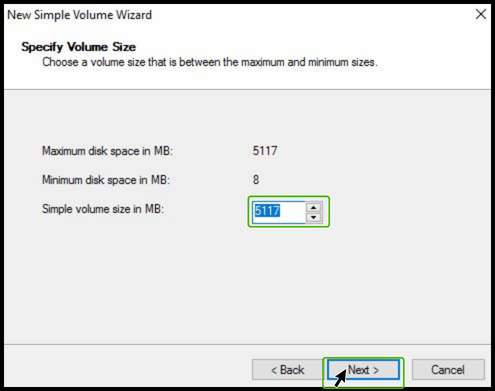
- Specify the volume size, by default it takes total disk space. Then click Next.
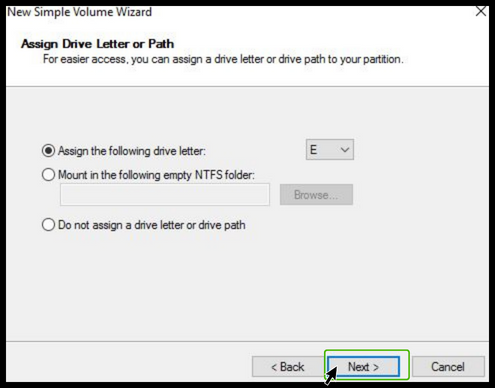
- Assign a drive to your disk and click Next.
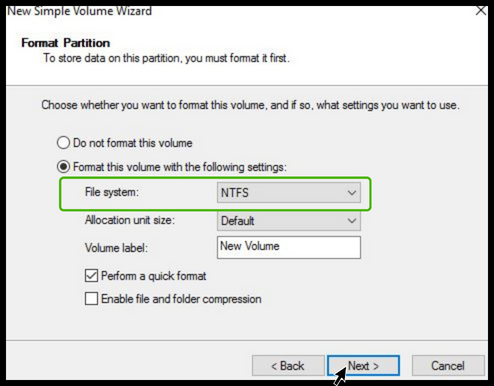
- Specify a filesystem for your disk. By default, NTFS will be selected and Next.
- Click Finish to complete the wizard.
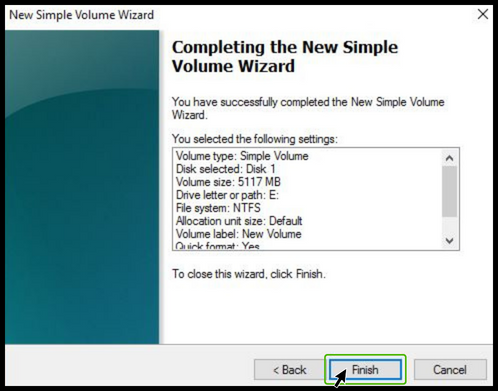
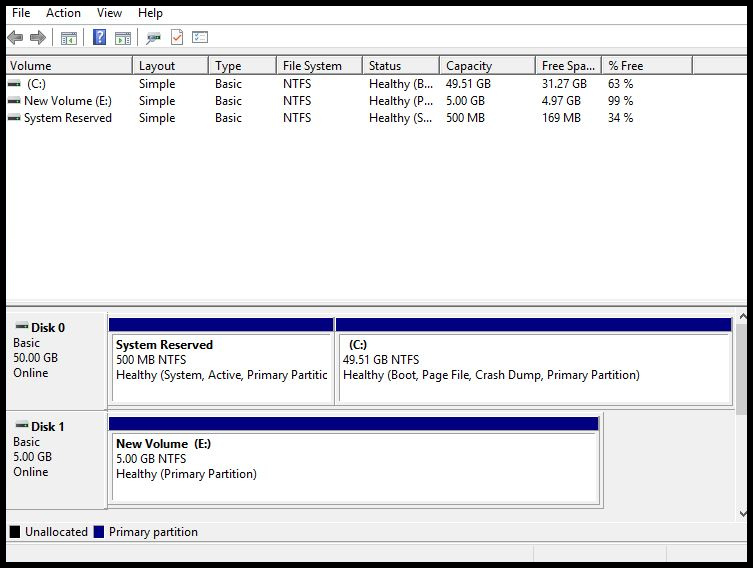
- After few seconds, your drive will be available to use.